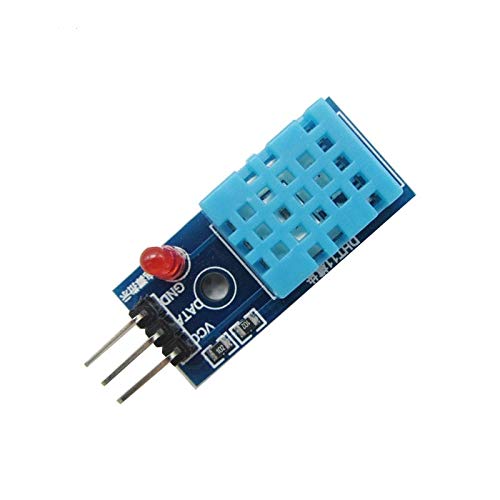
DHT11(Temperature Sensor)
Applications
NodeMCU
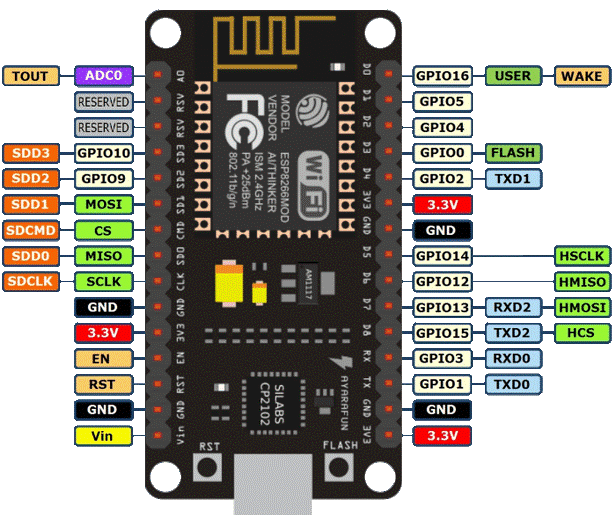
Pin Configuration
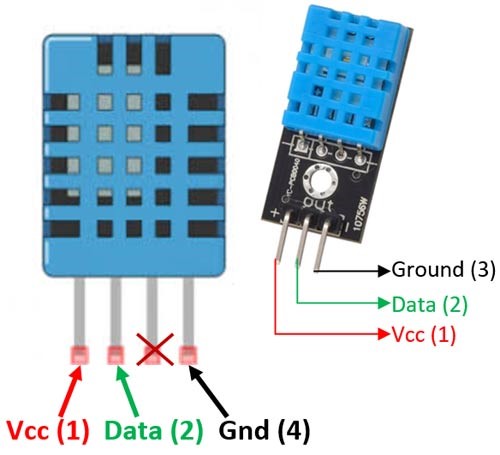
Pin Configuration for DHT11(temperature sensor)
Procedure

#include "dht.h"
#define dht_apin D1
dht DHT;

void setup() {
 Serial.begin(9600);       // 9600 BITS TRANFERING TO PC PER SECOND
}

void loop() {
  DHT.read11(dht_apin);
  Serial.print("Temperature: "); Serial.print(DHT.temperature); Serial.print("\t");
  Serial.print("Humidity: "); Serial.println(DHT.humidity);
  delay(1000);
}